Housing DIY: Regrouting tiled kitchen counter
When I first saw my kitchen I thought about how adorable the light yellow and black tile was with the vintage shallow sink. Once moving in I saw that the tile work was in desperate need for a face lift. One side of the counter the tile is in wonderful condition, the other is pretty pitiful, it looks as though people throughout the 100 year history have put many a hot pot on the tile, resulting in pitting on the tile. And don't even mention the grout... oh the grout... it could probably tell a decades of cooking stories and those were stories that I really didn't want to know. So I decided to take it upon myself to re-grout! I know I know, it's a rental, but things like this is such a cheap fix that you can do it in one evening. (I also always buy a new toilet seat at rentals... it's the best $15 you can spend).So first I read as many how to's and watched many youtube videos! Here's the one that was the most helpful.
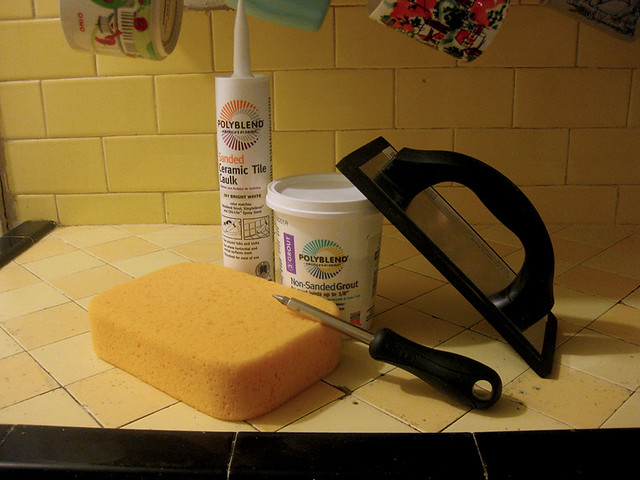
First I went to the hardware store, got non-sanded grout (sanded if the space between the tiles is more than a 1/4"), a screwdriver, a grout float, a big sponge, cheesecloth, and tile chaulk for around the sink (not included in this tutorial)
Anyway so my tiles started out with this.... dark grout hiding the loveliness of the yellow tilework.
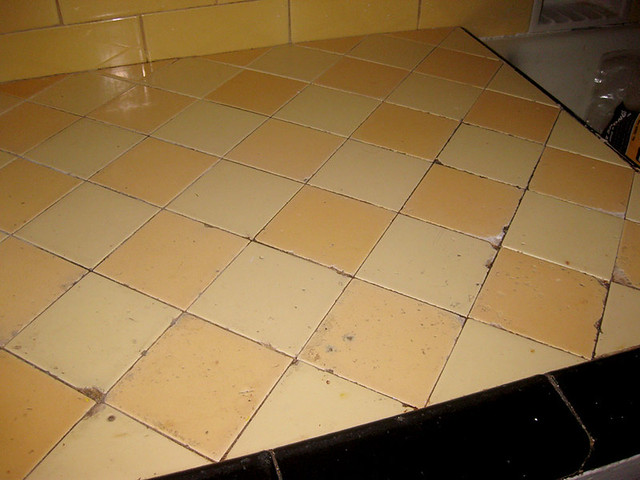
I used an old flat head screwdriver and a leather punch to scrap all the grout out, I'm not going to lie, it was pretty gross.
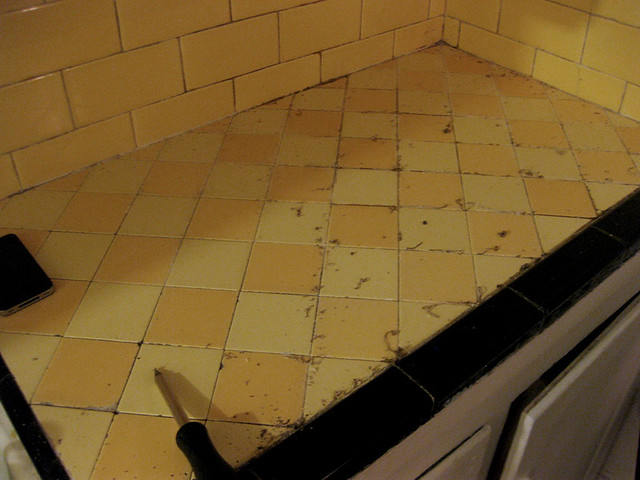
Then I vacuumed all the gunk away, brushed the counter top off real well and wiped it down with a towel. I waited till the next day to start the grout to make sure the tile was dry.
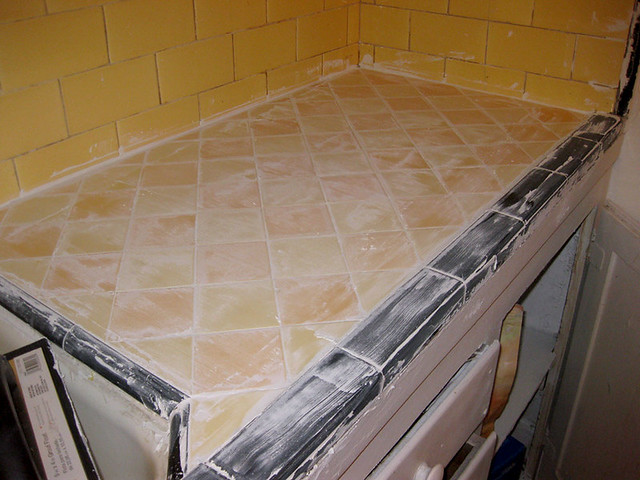
Follow the instructions on your grout and mix it together, scoop the grout on the counter and spread over it the tile with the float at an angle pushing the grout into the tile. Go over many times making sure that there is grout between all the tiles and putting more grout when needed. Do not push too hard where you are pulling grout out from inbetween the tiles, try to spread the grout at an angle to the tile.
Let the grout dry for what the instructions say, about 20 minutes for mine. It'll start to set and after the alloted time wipe the counter down with the clean, wet sponge. Again don't press too hard, and don't have a wet sponge just damp you don't want to be dripping water. After this let the grout set even more my instructions were for 2hrs.
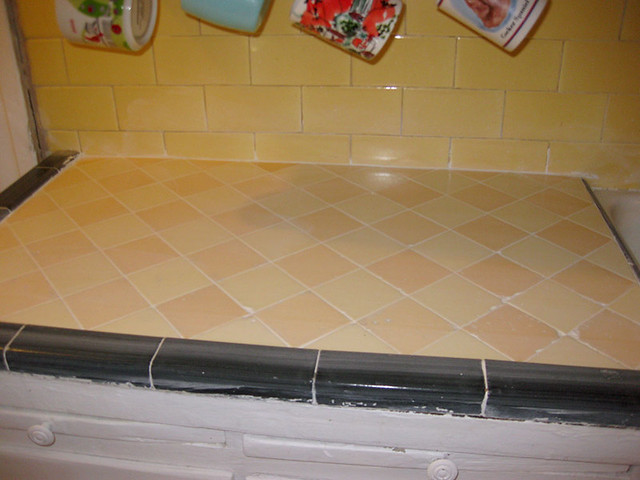
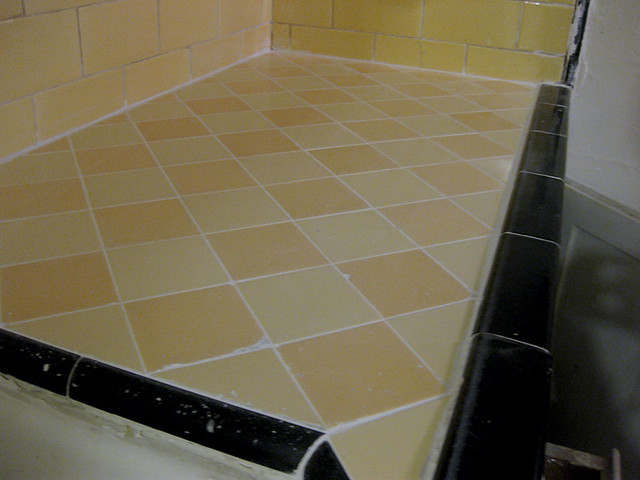
After those hours your tiles will appear cloudy, use your cheese cloth to buff the haze off. And voila! Wait a full 24hrs before putting things on the counter or you seal the grout to prevent staining. Overall I'm so happy I did this, it really just makes everything looks so fresh and so clean clean.
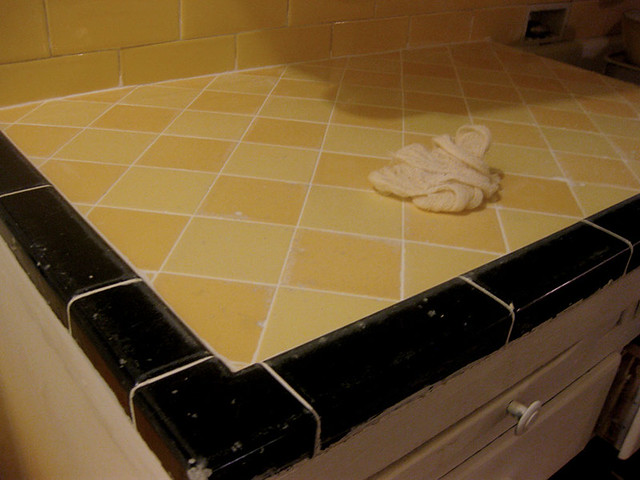
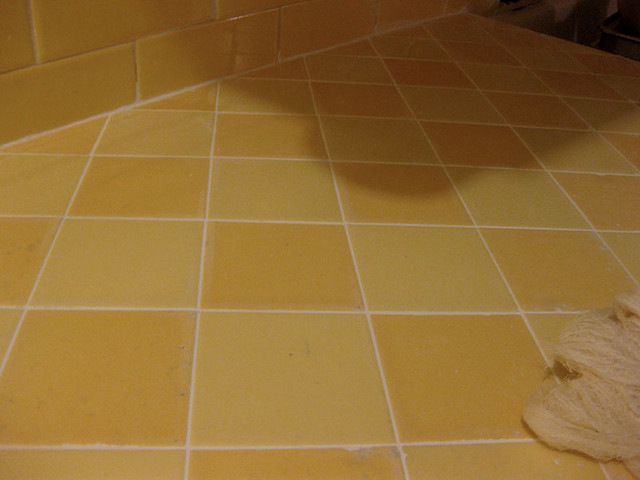
PS: Sorry for the poor quality pictures, my nice camera was out of commission. :)


0 comments:
Post a Comment