0 com

DIY: Eastlake Chair Reupholstery
Eastlake Chair Reupholstery

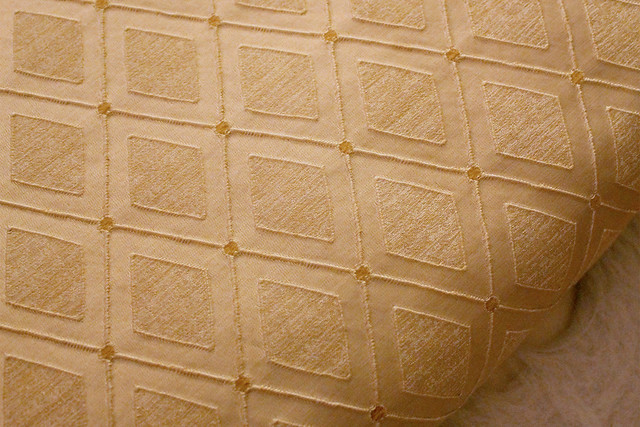
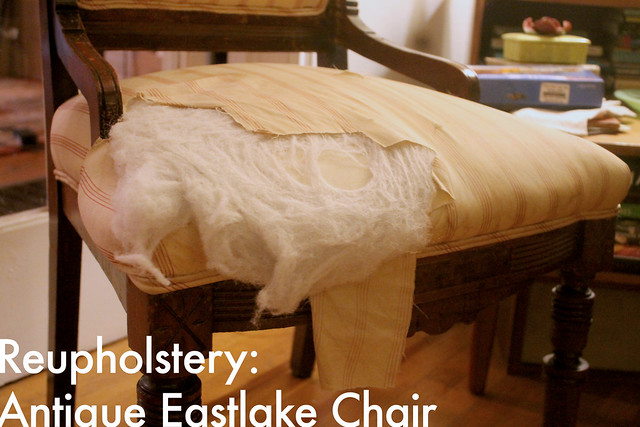
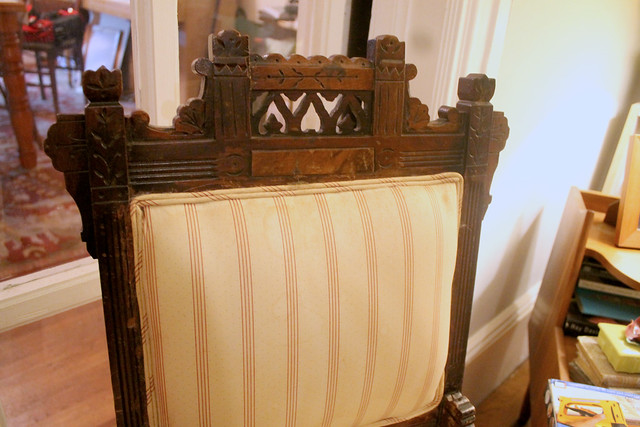
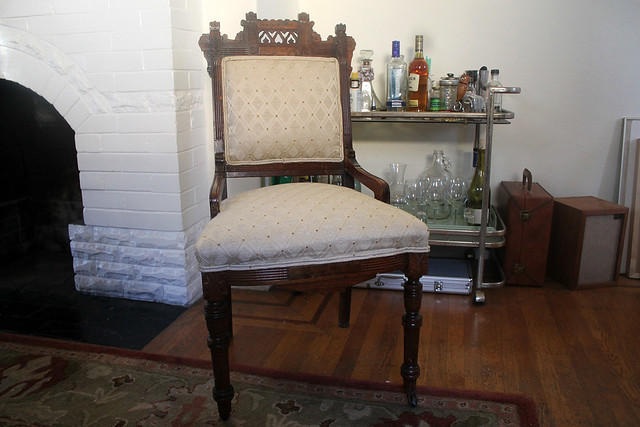
A couple years ago I bought this nice little carved wood chair with ripped upholstery for a steal at the White Elephant Sale that happens in Oakland every year. I also got a bunch of upholstery fabric there too that looked good with the chair. After doing a little research I found out that this was an Eastlake Chair from the Eastlake Movement which was a design reform started by Charles Eastlake, the pieces all feature carved wood. After doing research to my surprise and delight it seemed the fabric went with the period of the chair.
Eastlake Chair Reupholstery

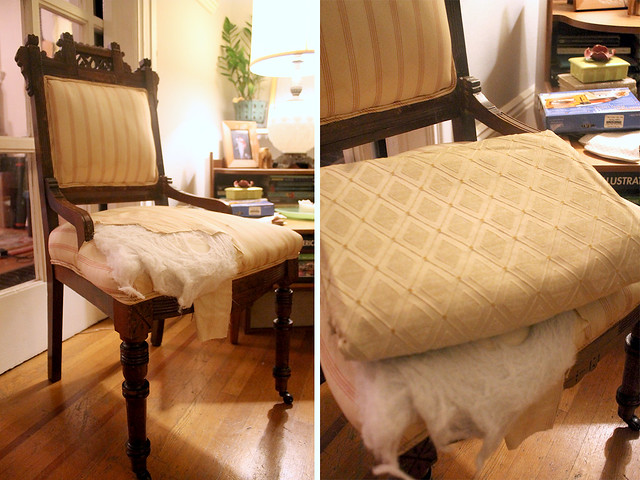
Fast forward a couple years the stained re-upholstery job in a thin cotton fabric that was on the chair when I got it ripped more and more. So I finally took the time to reupholster it with the nice new thick fabric. First I pulled off all the old gross double welt (double welt is the detailing bordering the upholstery and covering the staples, you can also use gimp instead, but welt looks more professional). Then I slowly removed the fabric so then I can use the pieces as a pattern.
Eastlake Chair Reupholstery

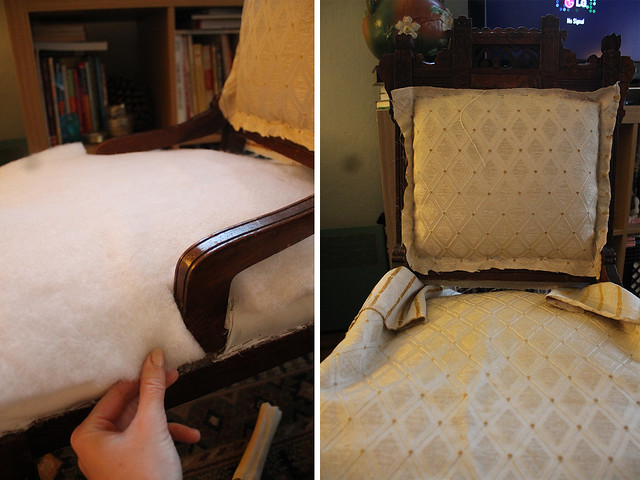
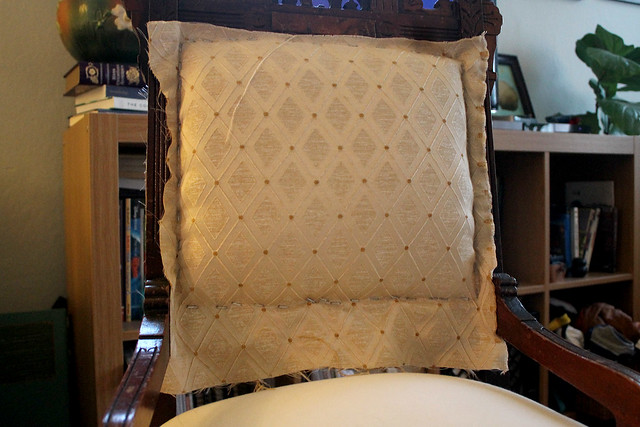
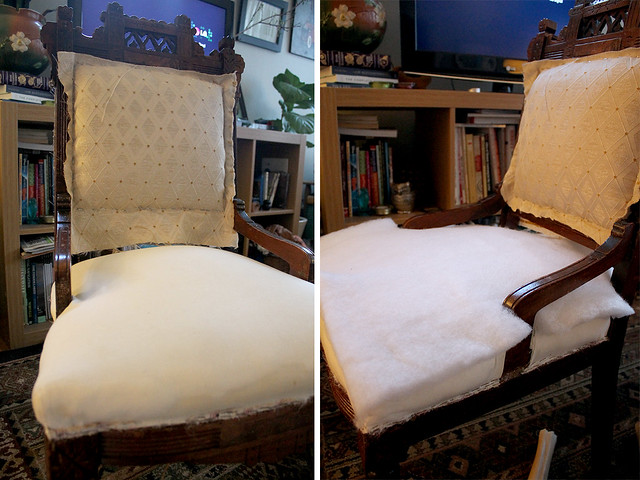
I started with the back of the chair since it was flat. I stapled the fabric on like stretching a canvas, after lining up the fabric I started in the middles of each side then stapled out to the corners. Then I did the front of the chair in the same fashion. For the bottom cushion it was a bit more complicated. I took the matted batting off the bottom cushion and the muslin and springs were in a good condition so I didn't have to replace them. I cut out new batting and just placed it over the cushion, didn't staple it or spray glue it in place. Then I took my bottom piece which I kinda had a rough pattern for. I draped the fabric piece, lining the pattern up to the back pattern and then cut it to make a perfect fit, turning under the edges that go around the wood back and side rails so that there were no raw edges. I first stapled the back then pulled it to the front and then the sides, then filled in the staples to the corners. This took a lot of trial and error. I pulled a lot of staples out and redid them many times. Just have patience! Then trim all the excess.
Eastlake Chair Reupholstery

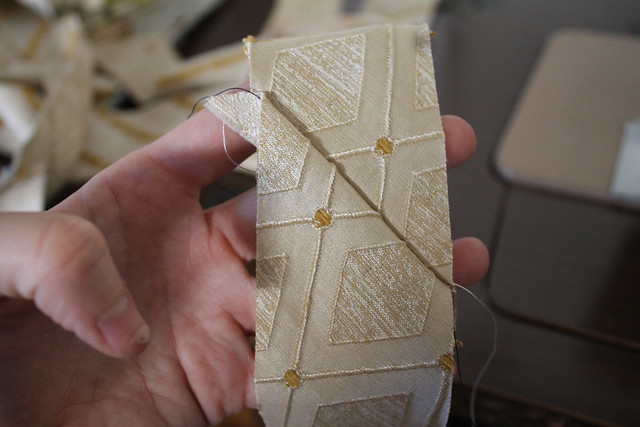
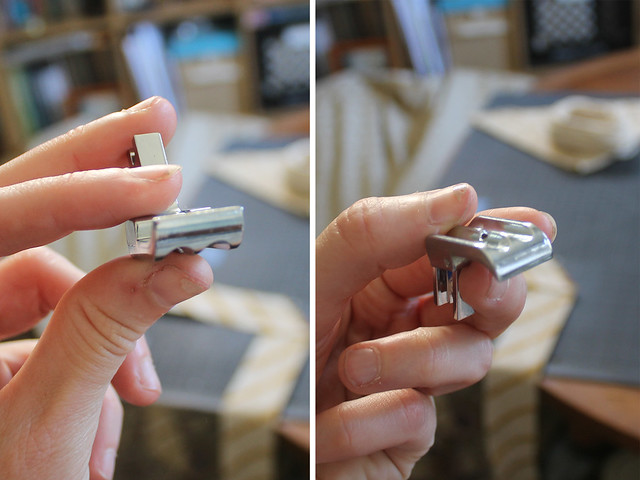
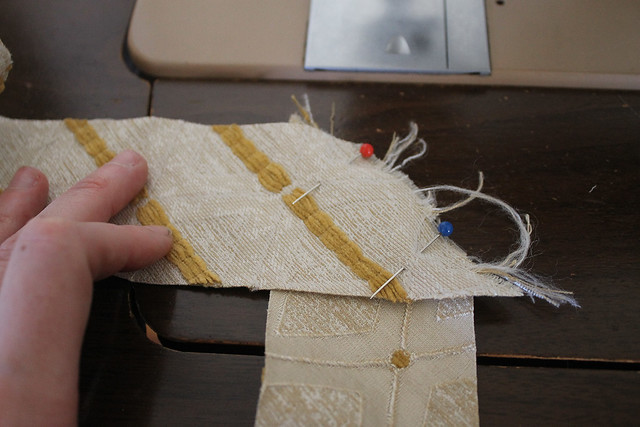
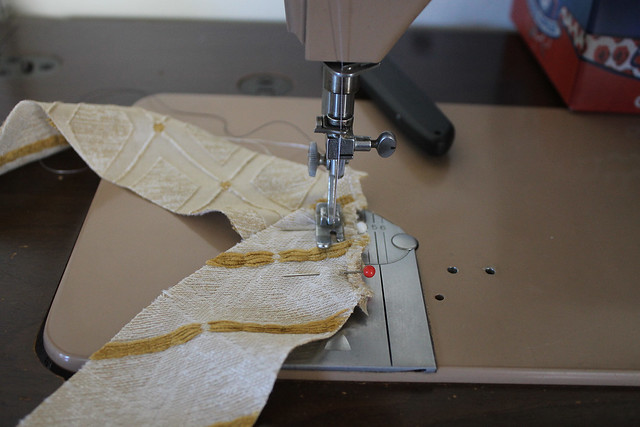
The next step is to make all the double welt for the edging. Measure around all the edges and then double that to get the amount of cord you need. I got a 1/4"-3/16" cotton cord for mine because the fabric was so thick. After getting the cord you need a double welt foot for your sewing machine. I know for single welt cord you can use a zipper foot, but the easiest way to make double welt I could find is to get a special foot. It cost me around $12 and I ordered it from the local sewing shop, but seems definitely worth it. If you don't have a sewing machine you can contact a local upholsterer and see if they will make it. Next step is to cut biased strips for the cording. Cutting on the bias means to cut at a diagonal so that the fabric bends around the edges smoothly and it has a bit of stretch to it. I first started with a square then used a rotary cutter and ruler to cut 2"-ish strips, I found out later that that was a little too small, I should've cut more like 4" strips.
Eastlake Chair Reupholstery

Then I sewed the strips together, place the strips face to face perpendicular to each other on the edges. After ironing the strips I was ready to welt! I'll write how I did it, but this site has a way better explanation, (http://www.prettyprudent.com/2010/09/prudent-home/how-to-make-double-welt-cord-2/).
Eastlake Chair Reupholstery

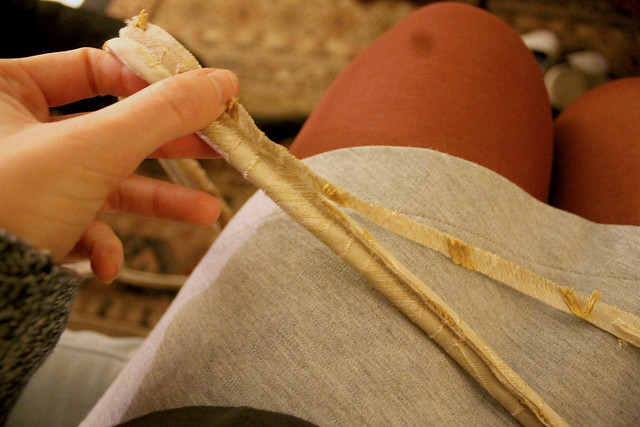
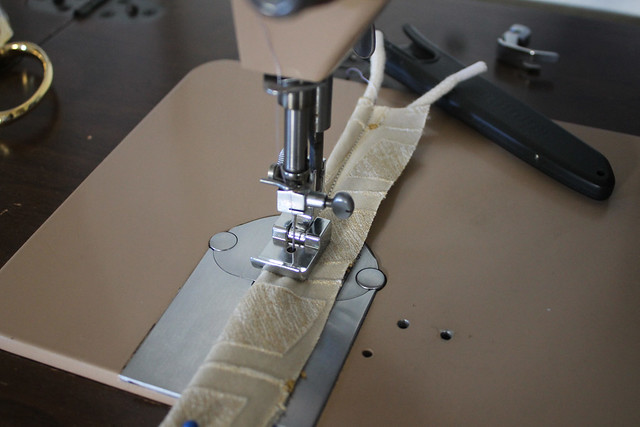
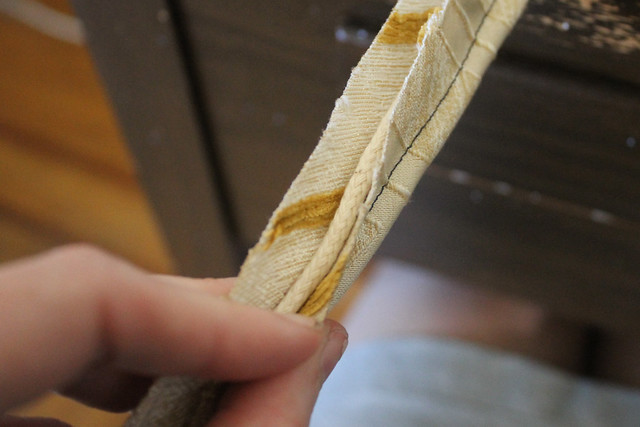
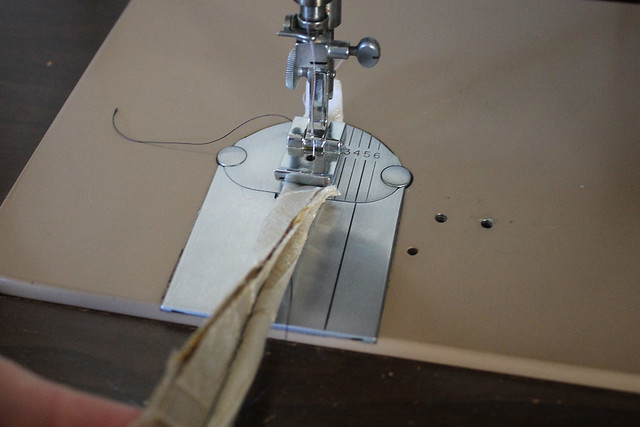
I first laid both cords in the fabric like they were hotdogs in a bun and had a bit more overlap of fabric on the top than bottom. I lined everything up with my double welt foot with the open fabric to the right of the foot, and started stitching a straight line. That first stitch sews in the the left cord. As I sewed I made sure everything was tight. When I took the open side of the fabric and wrapped the open edges from the right to the left and then sewed a straight line down the center again with my trusty welt foot. This than sewed in the right cord into the bundle. When I was done I trimmed the back and got it ready to hot glue!
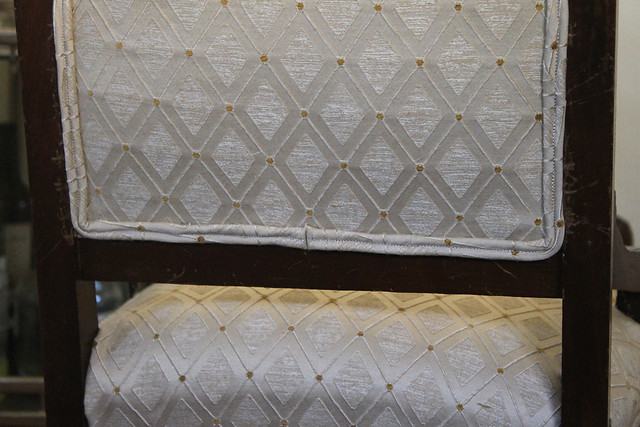
Eastlake Chair Reupholstery

First to get the ends of the double cord ready, pull the cord out of the fabric a bit and trim it, then pull the fabric back over the cords and fold it over, that'll make a nice edge for you to start putting the welt on. With you trusty hot glue gun start in the bottom middle of the front or back of the chair. You want your cording seams to be on the bottom in the middle. When you come to the end, do the same trick where you cut the piece a bit longer than you need, then pull the cord out a bit and trim it to fit, then fold the fabric under and you have a nice clean edge. The front of the the chair bottom was a bit more difficult, and again take you time and go slowly!
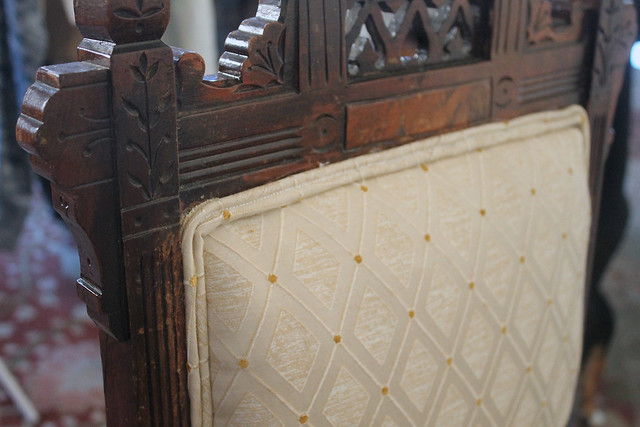
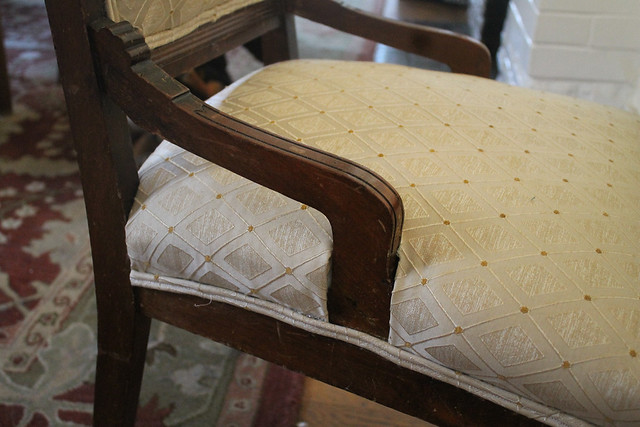
Eastlake Chair Reupholstery

And then TA-DA! Finished chair! Well a little more than that, but look it's finally finished! I learned so much and can't wait for my next upholstery project! I have the mid century bucket chair but Mike just found me another easier upholstery project on the curb! So I'll do that before I get into the hard bucket chair reupholstery. I'm so excited!

0 com

Travel: Yosemite with Mom pt. 2

Ok, I know it’s been some weeks since pt. 1 was posted, but here’s pt 2!
Mom and I work up bright and early so we could head north from Oakhurst to the south entrance of Yosemite NP. It was a fairly quick drive and were soon greeted by the park gates and the sign, it’s always exciting to see those things.

yosemite01
yosemite05

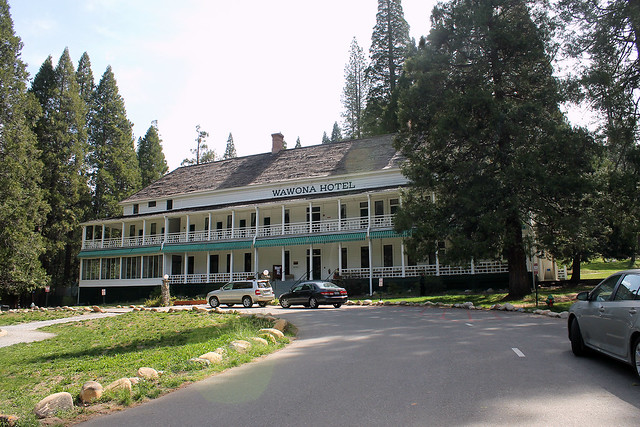
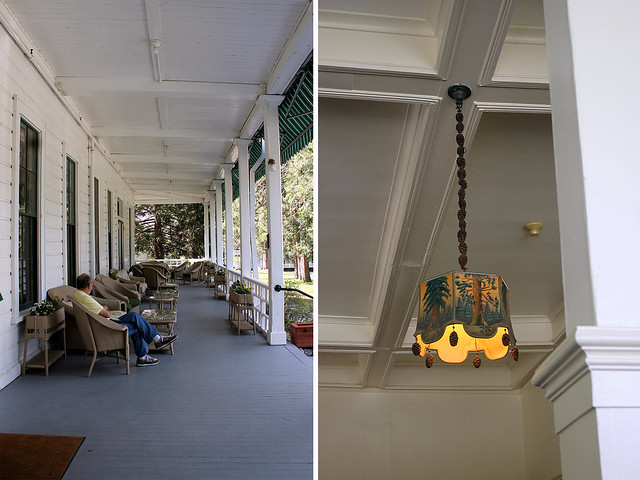
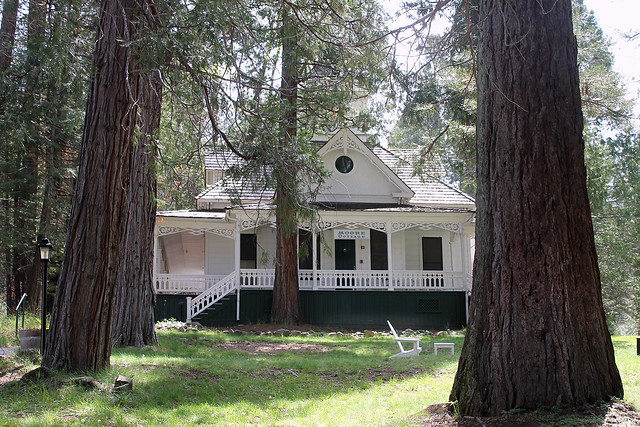
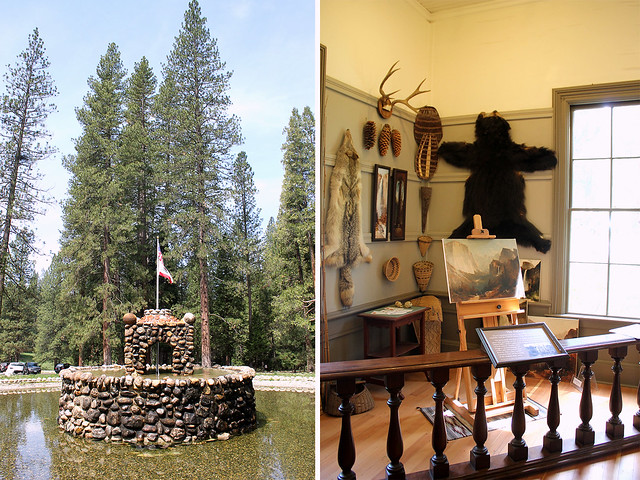
After entering the park we chose to bypass going to the Mariposa Grove since we had just been in other sequoia groves and made our way to the Wawona Hotel. We rushed into the building seeing they had a restaurant and just made it in time for breakfast, our stomachs thanked us for getting yummy food. The Wawona Hotel was built in 1876 and reminded me of many historic hotels in National Parks and the military buildings around San Francisco. It had a more basic victorian retreat look, not too flashy but not rustic. It reminded me of the hotel in Dirty Dancing, I can imagine all the fun dances and parties this place has seen. The dining room in the Wawona is also so adorable. It had custom chandeliers with woods painted on the shade and little sequoia cones hanging from the bottom. It was the perfect amount of cheese and classy. There were fireplaces in the dining room and sitting room with nice big chairs to lounge around in. The big front porch also had chairs to lounge in and look over the grounds and fountain. The main building is surrounded by other different sized and similar styled buildings, little cottages, another bigger hotel building and the Thomas Hill studio. All the buildings, with their wood siding and wood shingled roofs blended perfectly with the surrounding woods.

yosemite04
yosemite02
yosemite03

Beside the hotel is the Thomas Hill Studio which is now the visitor center in Wawona. Don’t know who Thomas Hill is? Well he’s the guy in the 1800’s that painted those huge, vast, beautiful landscapes of the United States landscape, mainly concentrating on the landscapes of Yosemite. Still no? See if the art museum near you has his work, which they probably do, and go be in awe at his amazing ability. Ok, now that I’m done with that the studio was quaint and had a lot about his history in it, and a nice vignette of what the studio looked like. After reading and being jealous of his artistic ability, we got our directions from the park ranger there and were on our way!

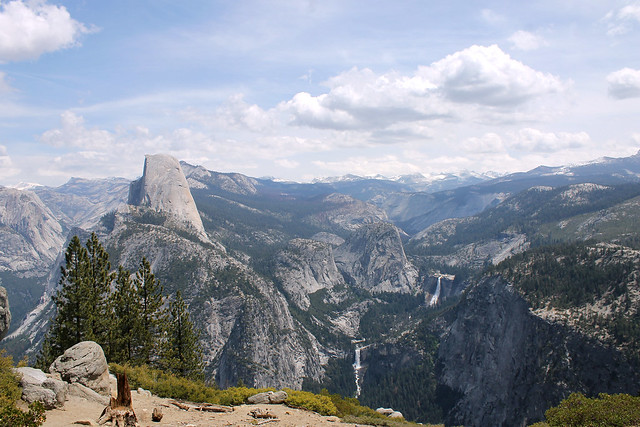
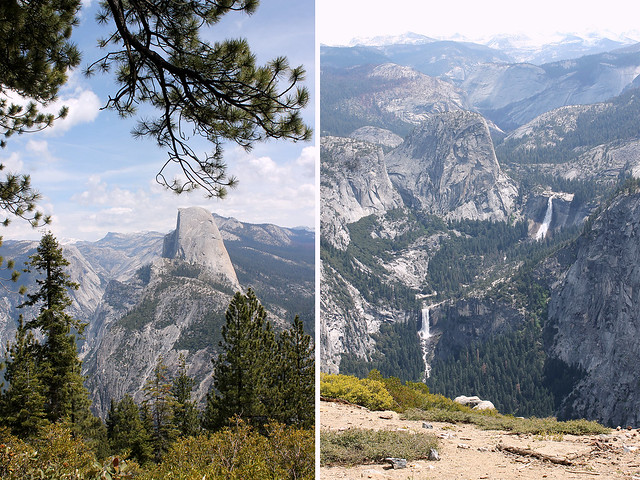
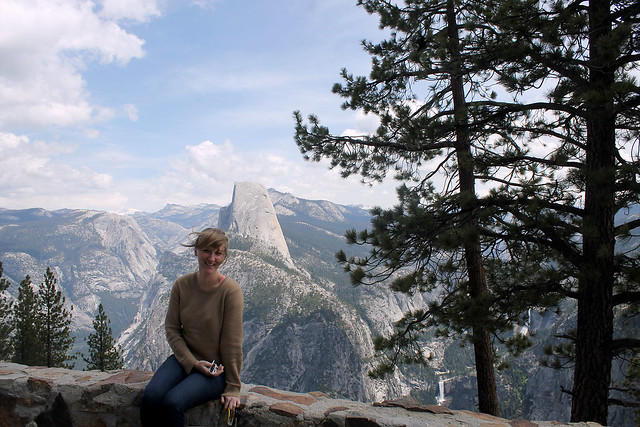
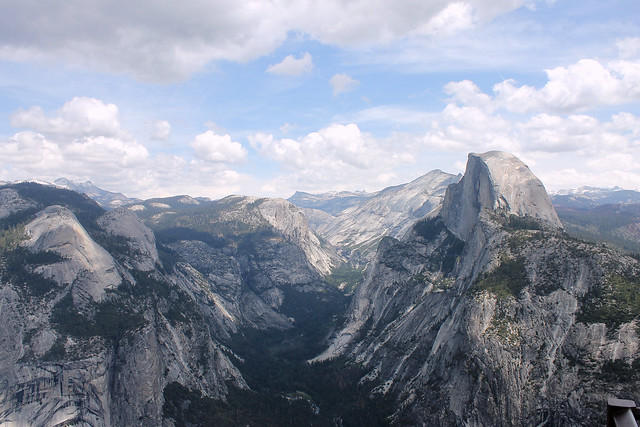
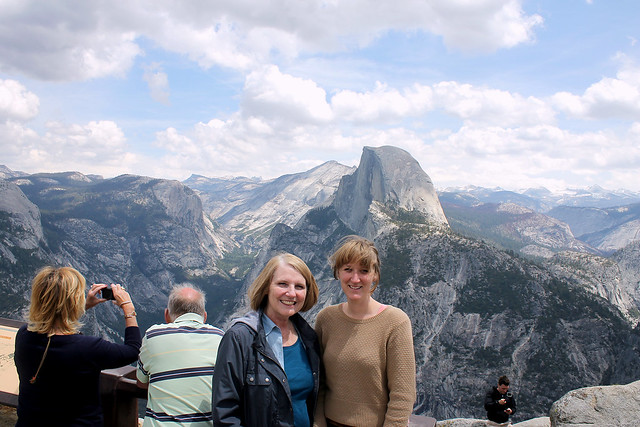
Our first stop as we traveled to the Yosemite valley was to Glacier Point. We drove the windy roads all the way to the top to be greeted with breathtaking views. The first major turnoff was near the top to our right. It overlooked Half Dome, Liberty Cap and the Vernal and Nevada Falls. Beyond those you just could see the land stretch out forever. After taking loads of pictures we headed all the way to Glacier Point overlook.

yosemite06
yosemite10
yosemite07


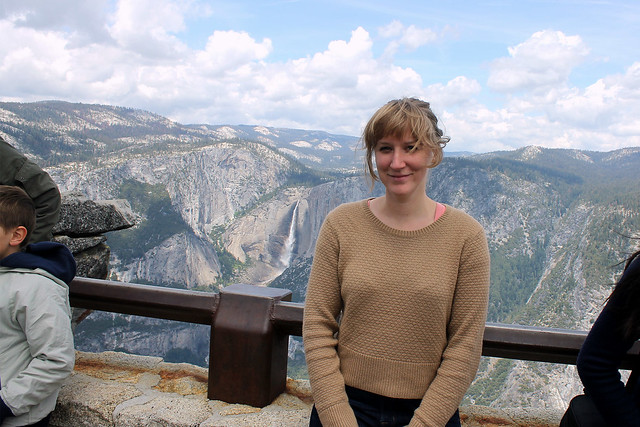
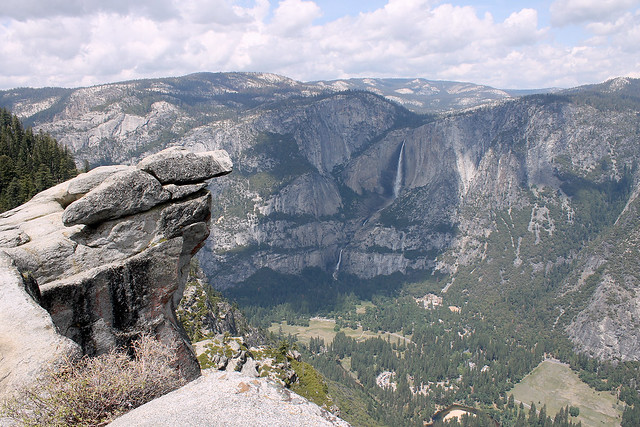
Glacier Point sits 3,200ft above the Yosemite Valley and has an elevation of 7,214ft. The viewshed of the overlook was incredible, having almost a 270ยบ view of the Valley, Tenaya Canyon, all the famous granite monoliths and at least a dozen waterfalls. It was like you were in a Tolkien novel looking down at some wondrous new land.

yosemite09
yosemite08

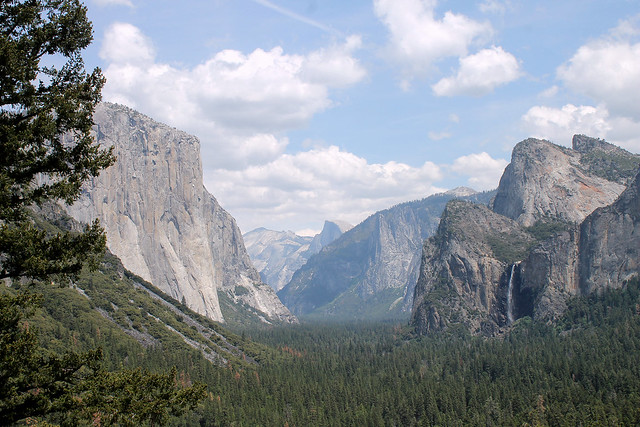
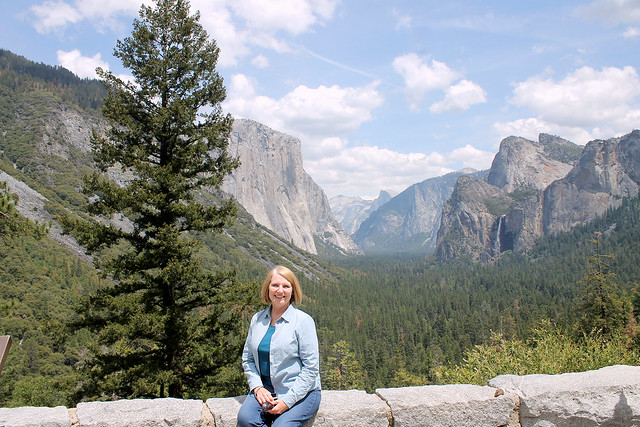
From Glacier Point we drove back down to the main road and towards the Valley. You wind down and down lowering elevation then come to a long tunnel borring through the mountainside. As you go through and hit the end you are struck by an amazingly spectacular view. Light baked valley, El Capitan glowing, Half dome looking over everything and waterfalls flowing (at this point, unfortunately with the drought they will soon dry up). There’s a shimmering to the valley.

yosemite13
yosemite15
yosemite14


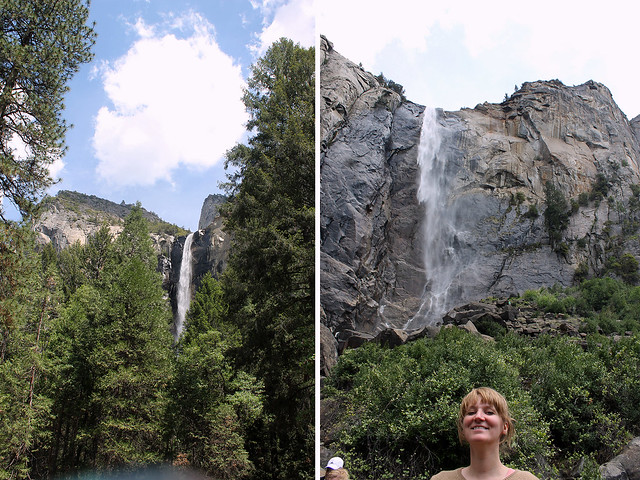
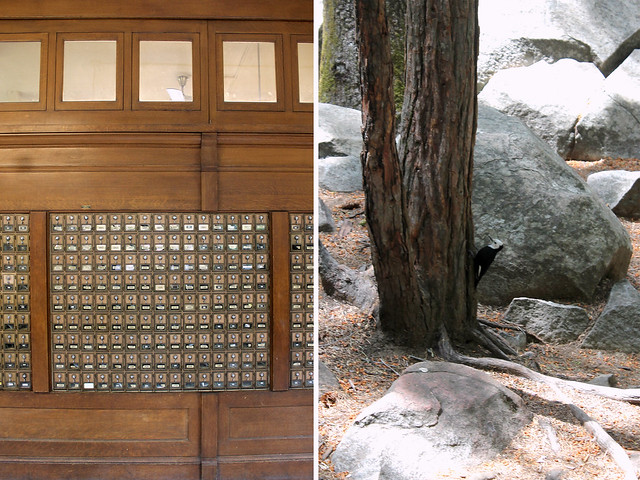
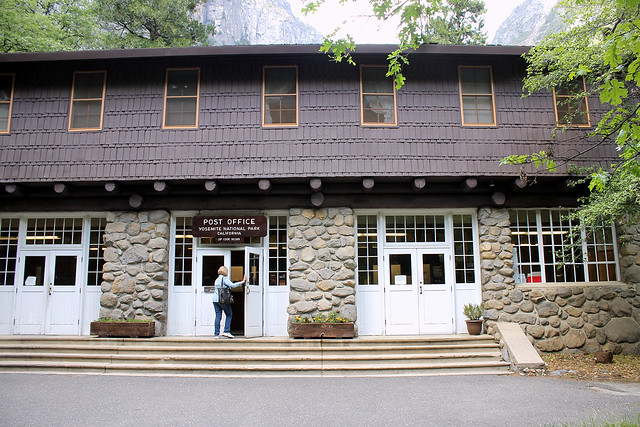
After stopping for a quick photo we made our way past Bridalveil falls, and walked the quick walk to be sprayed with waterfall mist then continued on to Yosemite Village. At this point the shuttles weren’t fully running so after a lot of walking we went to the store, museum, main visitor center, and the post office (which surprised Mike when we were there last week, but to me I’m like “Of course National Parks have post offices.” I guess that’s not common knowledge). After filling up on knowledge, presents for everyone and snacks we headed back to the car.

yosemite16
yosemite17


Leaving the park we followed the Merced river winding through the canyons as we headed back to the central valley. A few hours later we were home and relaxing. It’s amazing to know that I’m close by such beauty and can make a weekend trip out there.

yosemite18
yosemite19

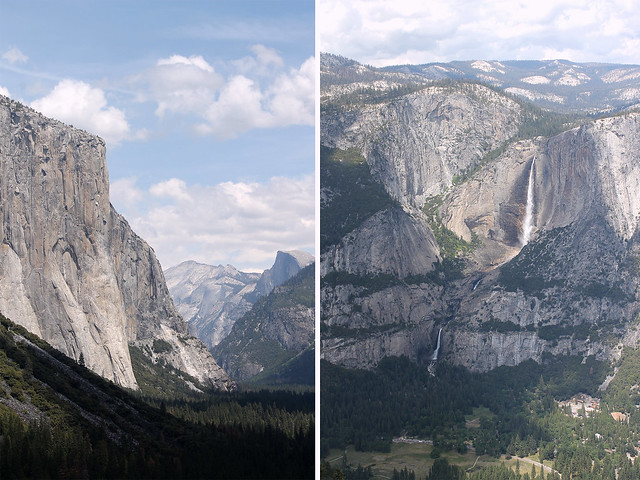
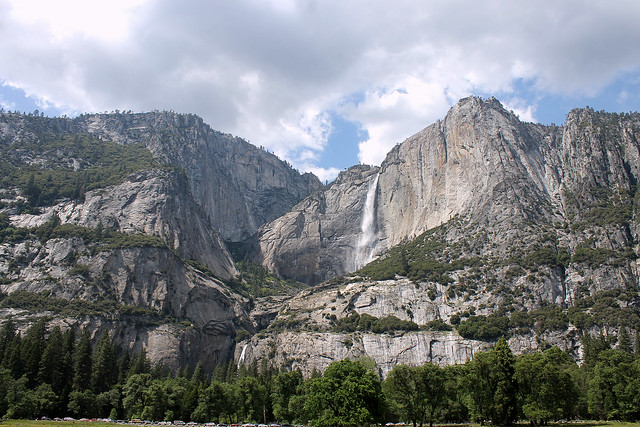
If you only have a day and don’t have time or can’t hike, there’s so many beautiful things to see. Stopping at Wawona is a must and learning about Thomas Hill. Glacier Point is breathtaking and I’m sad I didn’t go back last week, just didn’t have time. Going into the valley stop after the tunnel and get a picture, it’s one of the most photogenic locations. Parking in the Valley and taking the shuttle around is a must just so you can see all the villages and buildings there. On your way out stop and see the Upper and Lower Yosemite falls. You can also go down to the Merced river and skip stones or dip your toes in or something. The best time to go to Yosemite is in the spring and early summer, the waterfalls are flowing and it’s not yet too warm.

yosemite11

Growing up my parents took me and my sisters to so many amazing National Parks and made me fall in love with the NPS. I still dream of becoming a ranger and exploring the wilds of our country. I’m so happy that I got to experience these two parks with my mom, and share the first time experience together.

yosemite12

Fun thing is Mike and I got to go back to Yosemite this past week, I’ve been bitten with the Yosemite bug… We stayed there for two nights, and got some hikes in. More on that later!
0 com

Art: Newest Pet Portraits

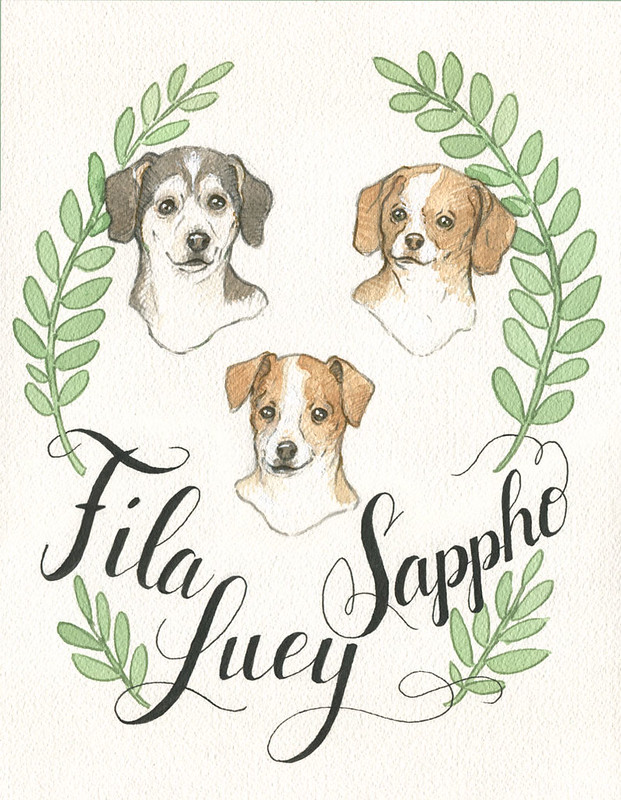
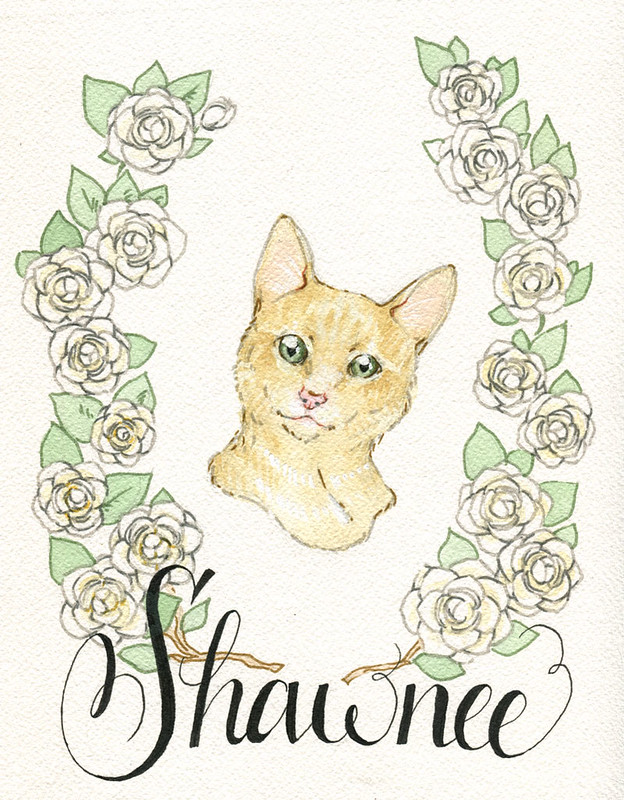
I need to get some of my sketches and such online, but in the meantime here's a couple pet portraits I recently did for my friend Marlee and my friend Rochelle.

Tichenor-dogs-web

Shawnee-web

There you have it. I have some more coming down the pipeline! Yay for pets!

Huggles,
Lauren

0 com

Travel: Sequoia with Mom, pt 1

A couple weeks ago I had the awesome privilege of having just my mom come out and visit for a full week. Life had been really busy with so many people visiting and tight deadlines at work so I hadn't really planned what we would do. This was the second time my mom had been here so she wanted to get more of an everyday sense of living here rather than doing all the touristy SF stuff she did last time she was here. Talking to her on the phone a couple days before she came we only had the High Line show on our schedule when she said, "You know I've always wanted to see the sequoias, one of them is named the 'General'" Well then, plan made, we will see the sequoias.

The first day she was here though she went on a day long tour bus to keep herself occupied while i had an 8-hour meeting (THE WORSE THING EVER). So she got her fill of touristy stuff. The next day we went to the Legion of Honor to see the show "High Line" which is a show of the Met's clothing collection. My mom being a seamstress loved it... And I'll post those pics later.

Then the next couple days we were going to go to Sequoia and Yosemite but a storm was passing through so we pushed back the plans and just hung around the house and drove/walked around Oakland. It was nice just having her hang out at my house.

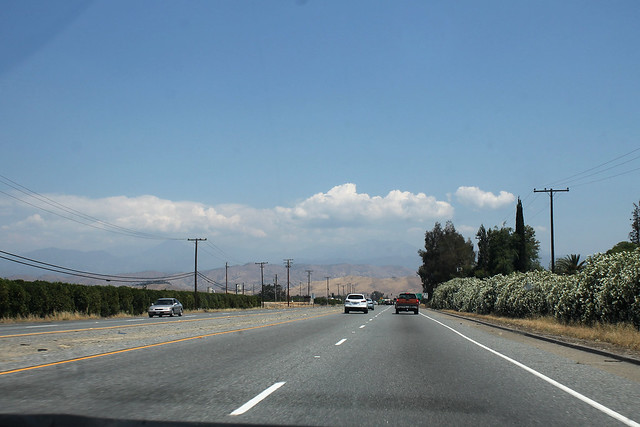
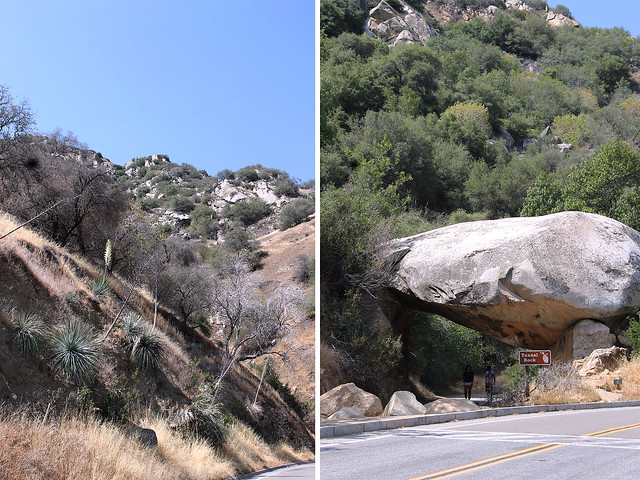
Central Valley
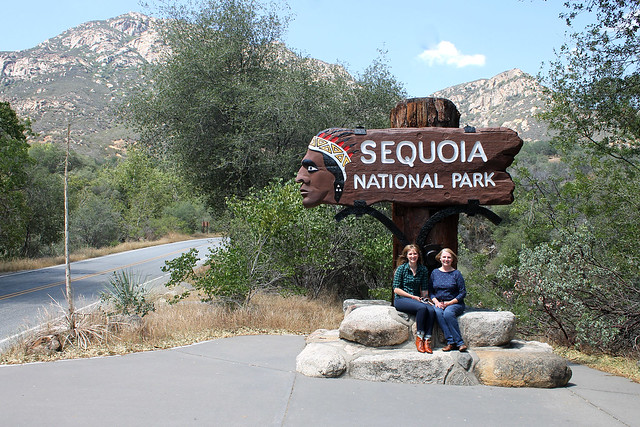
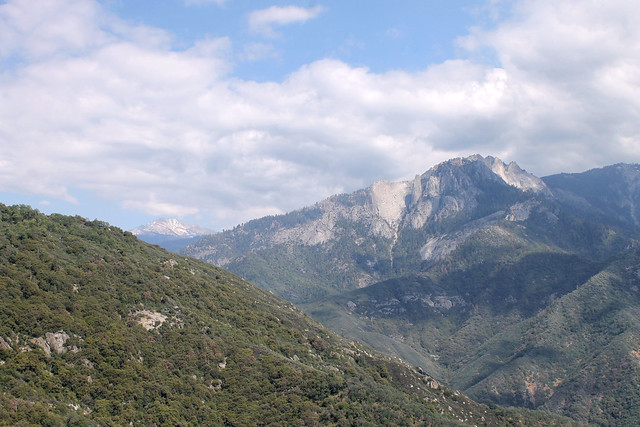
Sequoia NP
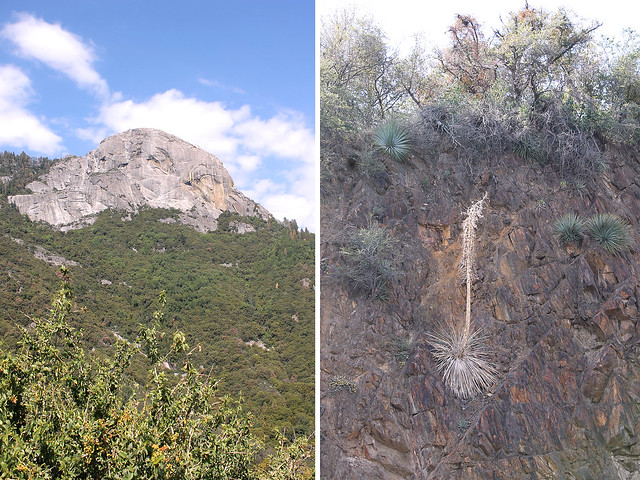
Sequoia NP

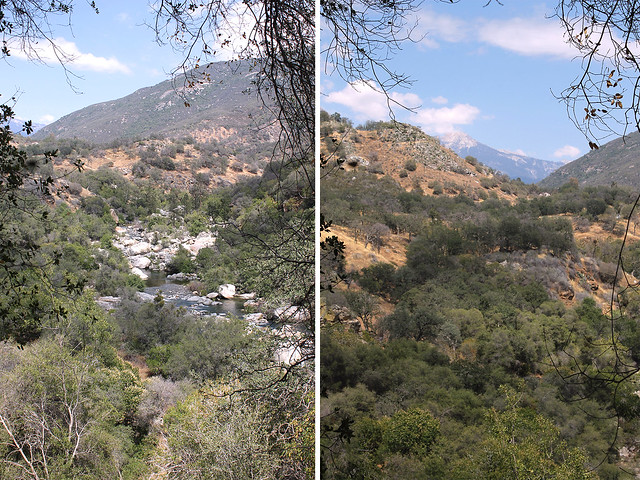
Then Sunday came around and we got up early, packed our stuff, and headed to Sequoia National Park. We drove for 3 hours through dry grassy hills, and almond tree fields before coming up to the mountains. Driving along a little windy river we came up to the park. It at first just was dry deserty looking plants and I was a little confused, this looks nothing like what I expected. And then we just started driving up a mountain, and kept going up and up and up. What I didn't realize that sequoias grow really really high up, like 7000ft elevation.

Sequoia NP
Sequoia NP
Sequoia NP

I also learned at the park headquarters that Sequoia is the second National Park right after Yellowstone. So on every park ranger in the US they have sequoia cones on their hat and belts, and the NPS badge has a sequoia on it, right behind the bison. Sequoia cones are also like redwoods, they're much smaller than expected. Redwood cones are like a pistachio to cherry size, and sequoia cones are the size of a small egg.

Back to the climbing up a mountain side... My car is a hybrid, and one thing about them is they're really heavy cause of the batteries. So you can imagine they don't have much power for climbing 7000ft in just a few miles. So to our surprise (but shouldn't have been) my mom and I watched our gas milage drop faster and faster until it said we only had about 30 miles left in our tank, in a park with no gas stations. Being a bit worried and embarrassed we drove up to the park museum and confessed our gas shortage to a ranger. He was nice and told us there was a gas station right outside the park in the direction we were going and it was only about 20 miles away... and the best part, we were at the top of the hill, all down hill from there. Phew.

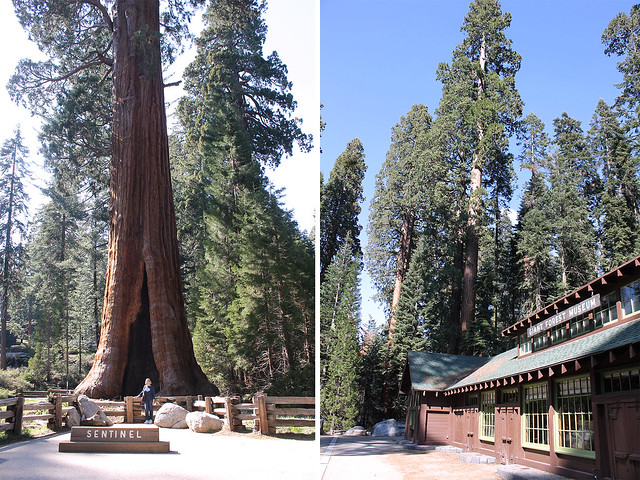
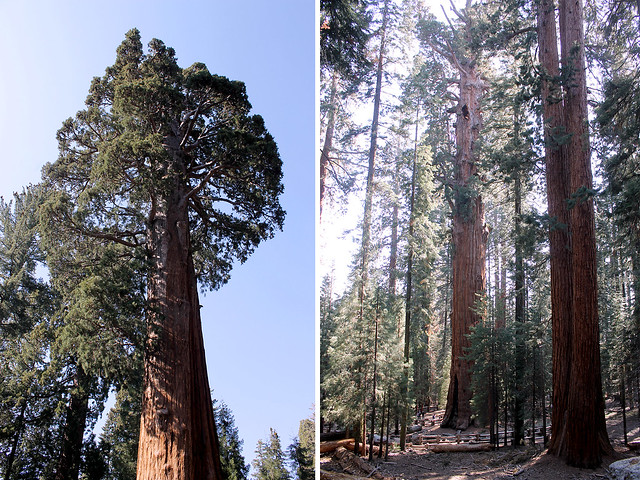
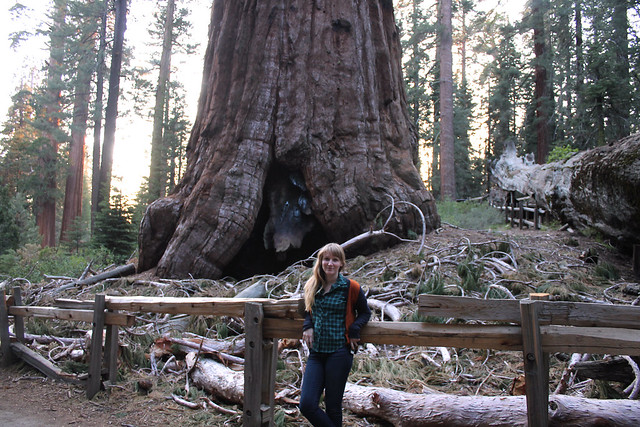
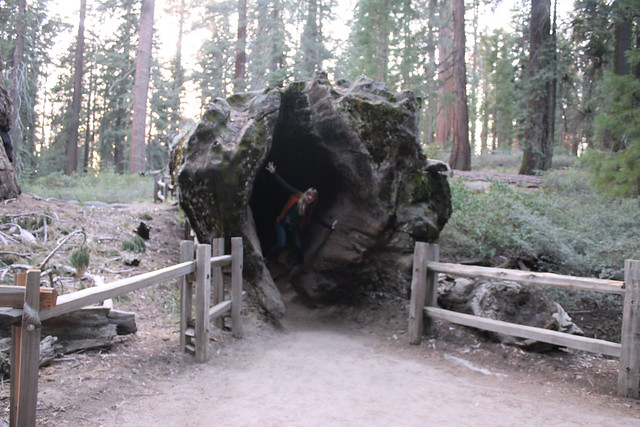
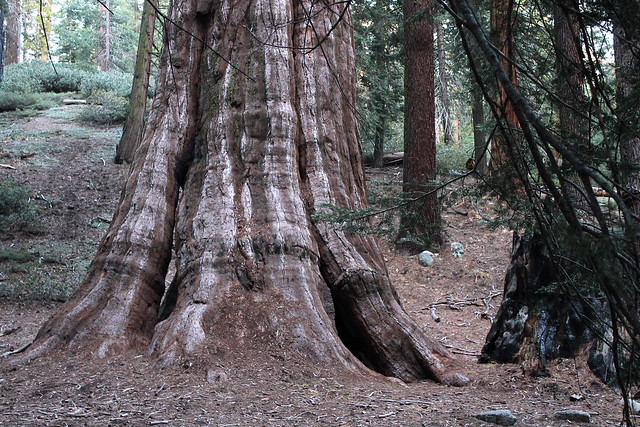
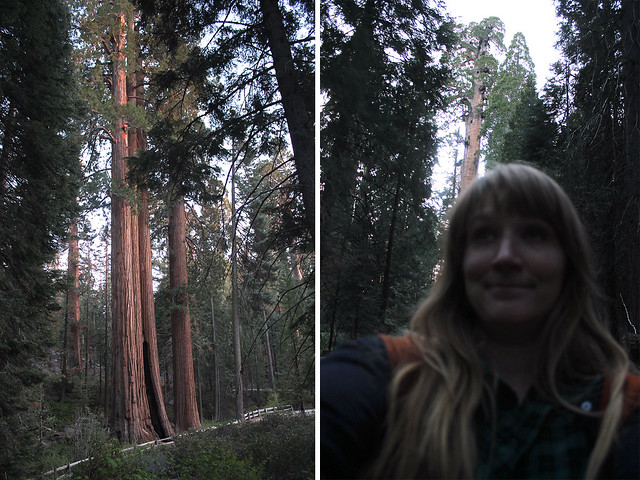
After the worry about gas we started enjoying the change in environment. As we climbed up the mountainside we went from dry grass to pines to SEQUOIAS. Having just been in the redwoods a week prior I was ready to see giant trees. But me oh my, these trees were way bigger than I imagined. Although not as tall as the coastal redwoods, they are massive around. They didn't evenly taper to the top like pines just went straight up and then stopped at the top with a few arm like branches at the top. And the giant sequoias were fewer and far between compared to the redwoods. There would be regular pines and smaller sequoias the BAM a huge giant. It was incredible.

Sequoia NP
Sequoia NP
Sequoia NP

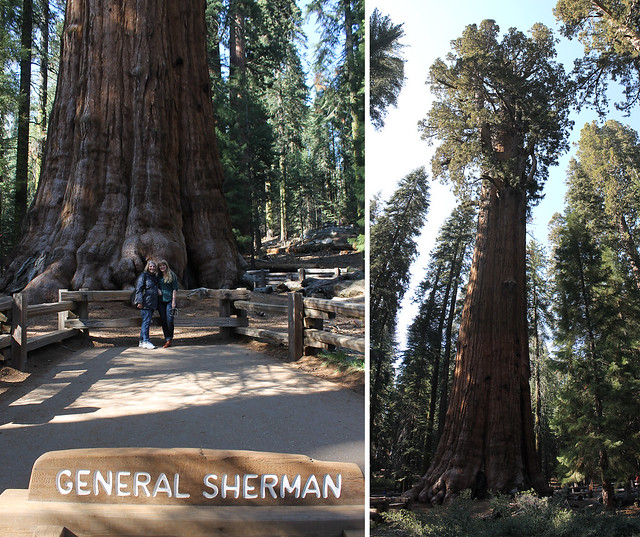
Our second stop after the museum was to the General Sherman tree. This is the largest tree by volume in the WORLD. This tree is dead on top but is still growing wider. I'm not sure how that's possible but it is. It's largest branch was 7ft in diameter before falling off. The base of the tree has a diameter of 36.5" and a circumference of 102.6"... yeah it's big. And photos do it no justice. It is also a young 2,300–2,700 years and 275 ft tall.

Sequoia NP
Sequoia NP
Sequoia NP

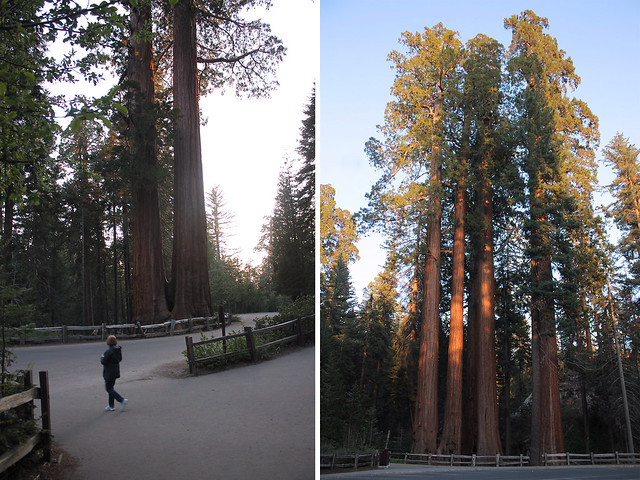
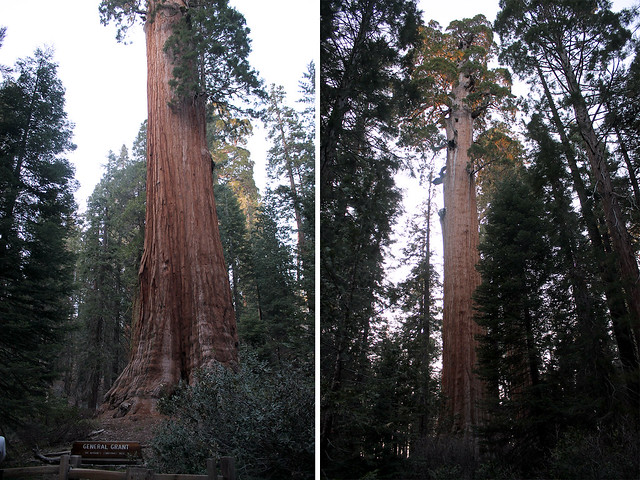
Eventually we made our way then to General Grant grove actually located in Kings Canyon NP (the two parks join together). The Grant tree is the second largest tree in the world. Surprisingly I learned visiting that tree that the sizes are not indicative of the trees age. The size is based more on the conditions they live in. Grant tree is only 1,650 years old, I also learned the sequoias can stay relatively small for long periods of time as well if the growing conditions aren't perfect. The Grant tree is the "National Christmas Tree" and decorated with a wreath every year. It has a larger circumference, 107.6", then the Sherman tree so for a long time it was thought to be larger.

Sequoia NP
Sequoia NP
Sequoia NP
Sequoia NP

After lots of tree photos we then drove down the mountain side back into the central valley chasing the sun. We drove for another hour or so before ending up in Oakhurst a small tourist town directly south of Yosemite, and got some rest before our big adventure the next day in... YOSEMITE.

Sequoia NP

Have you been to Sequoia?

Huggles,
Lauren