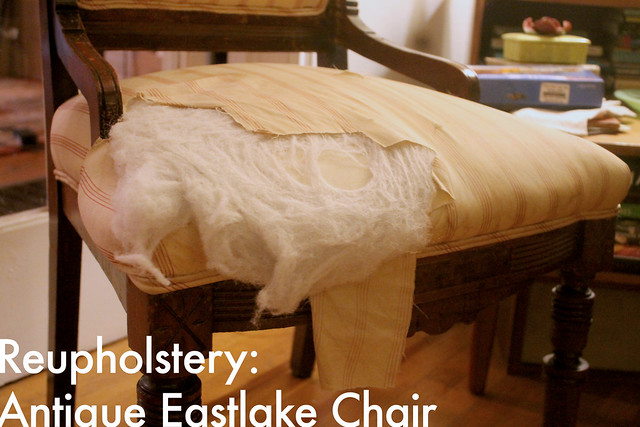
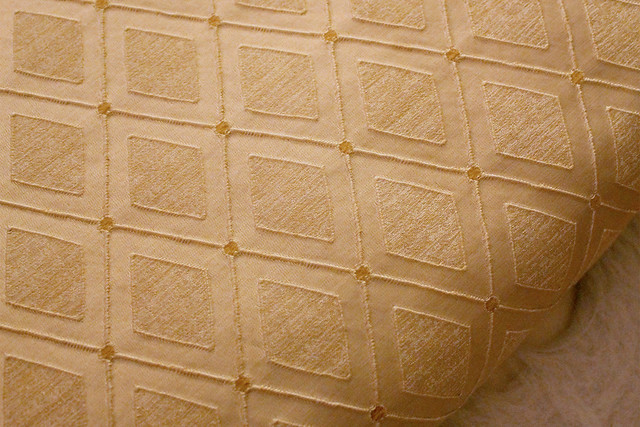
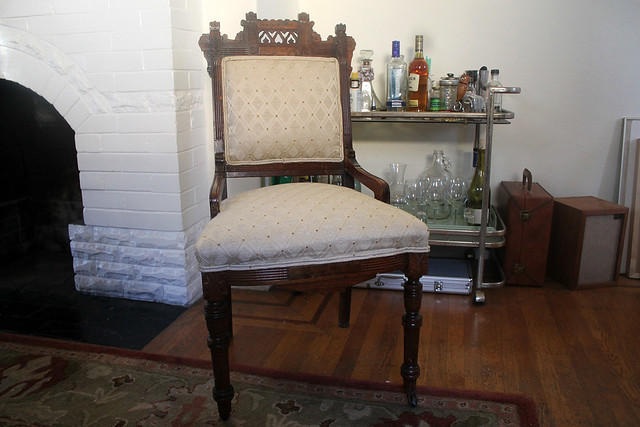
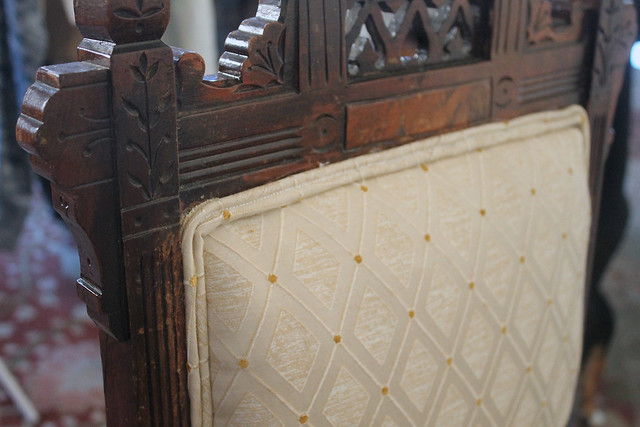
A couple years ago I bought this nice little carved wood chair with ripped upholstery for a steal at the White Elephant Sale that happens in Oakland every year. I also got a bunch of upholstery fabric there too that looked good with the chair. After doing a little research I found out that this was an Eastlake Chair from the
Eastlake Movement which was a design reform started by Charles Eastlake, the pieces all feature carved wood. After doing research to my surprise and delight it seemed the fabric went with the period of the chair.

Fast forward a couple years the stained re-upholstery job in a thin cotton fabric that was on the chair when I got it ripped more and more. So I finally took the time to reupholster it with the nice new thick fabric. First I pulled off all the old gross double welt (double welt is the detailing bordering the upholstery and covering the staples, you can also use gimp instead, but welt looks more professional). Then I slowly removed the fabric so then I can use the pieces as a pattern.
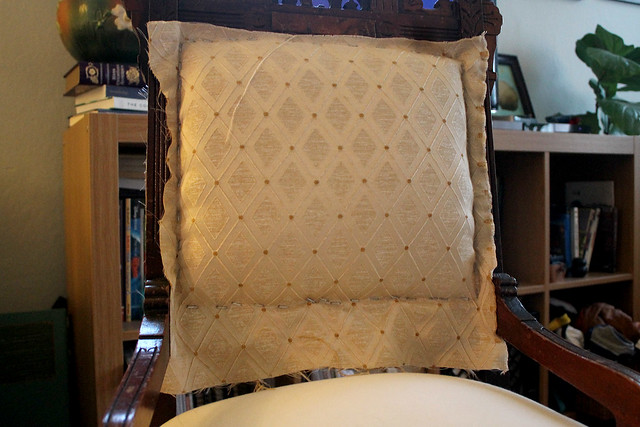
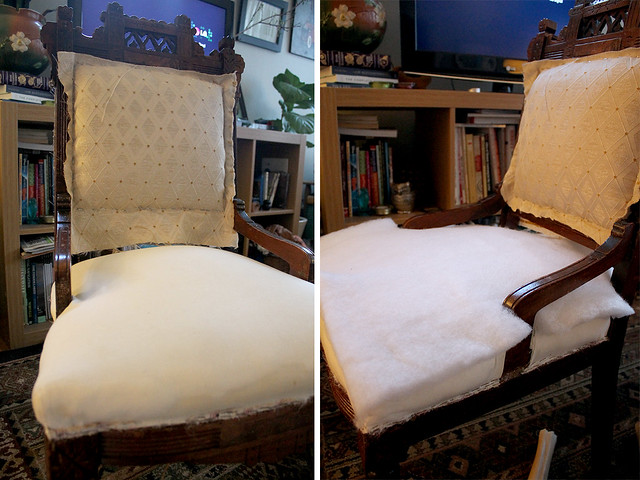
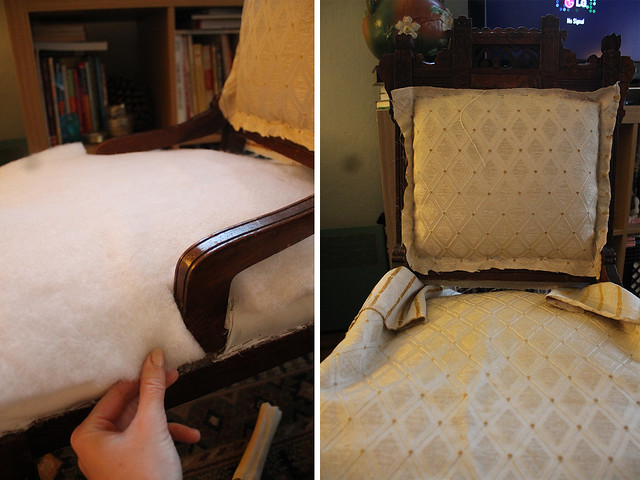
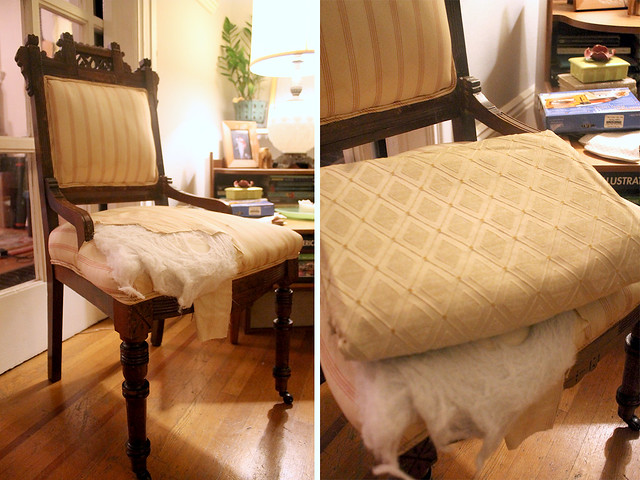
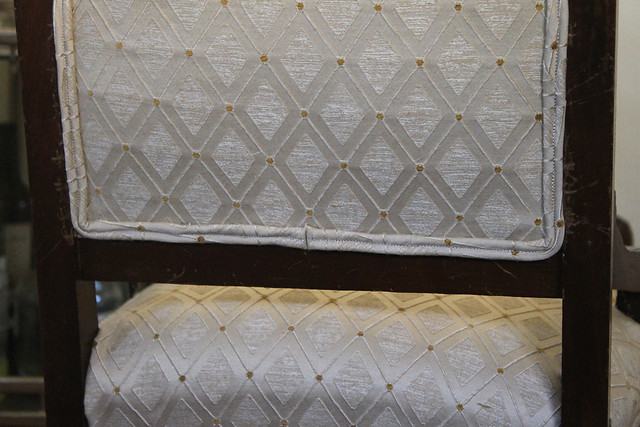
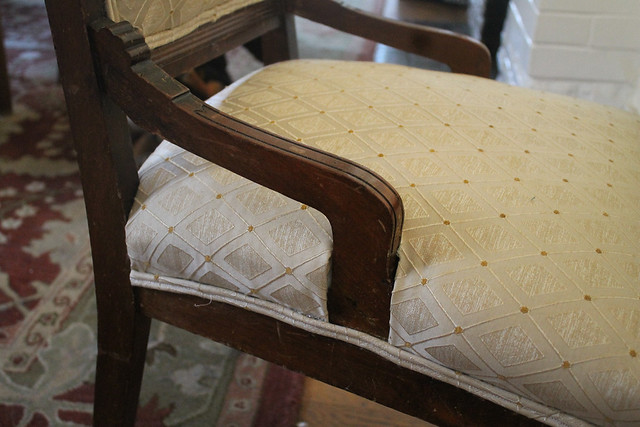
I started with the back of the chair since it was flat. I stapled the fabric on like stretching a canvas, after lining up the fabric I started in the middles of each side then stapled out to the corners. Then I did the front of the chair in the same fashion. For the bottom cushion it was a bit more complicated. I took the matted batting off the bottom cushion and the muslin and springs were in a good condition so I didn't have to replace them. I cut out new batting and just placed it over the cushion, didn't staple it or spray glue it in place. Then I took my bottom piece which I kinda had a rough pattern for. I draped the fabric piece, lining the pattern up to the back pattern and then cut it to make a perfect fit, turning under the edges that go around the wood back and side rails so that there were no raw edges. I first stapled the back then pulled it to the front and then the sides, then filled in the staples to the corners. This took a lot of trial and error. I pulled a lot of staples out and redid them many times. Just have patience! Then trim all the excess.
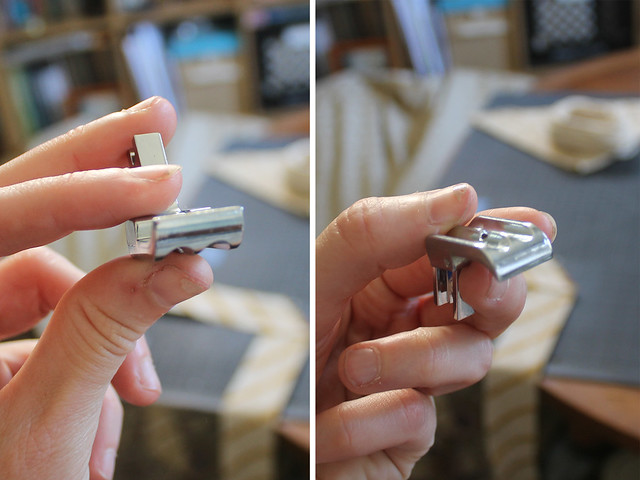
The next step is to make all the double welt for the edging. Measure around all the edges and then double that to get the amount of cord you need. I got a 1/4"-3/16" cotton cord for mine because the fabric was so thick. After getting the cord you need a double welt foot for your sewing machine. I know for single welt cord you can use a zipper foot, but the easiest way to make double welt I could find is to get a special foot. It cost me around $12 and I ordered it from the local sewing shop, but seems definitely worth it. If you don't have a sewing machine you can contact a local upholsterer and see if they will make it. Next step is to cut biased strips for the cording. Cutting on the bias means to cut at a diagonal so that the fabric bends around the edges smoothly and it has a bit of stretch to it. I first started with a square then used a rotary cutter and ruler to cut 2"-ish strips, I found out later that that was a little too small, I should've cut more like 4" strips.

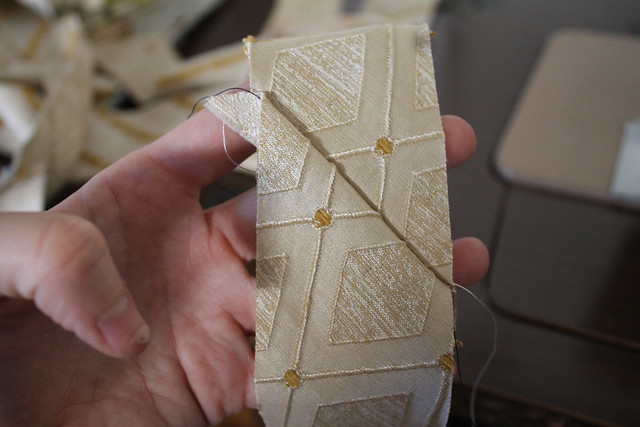
Then I sewed the strips together, place the strips face to face perpendicular to each other on the edges. After ironing the strips I was ready to welt! I'll write how I did it, but this site has a way better explanation, (
http://www.prettyprudent.com/2010/09/prudent-home/how-to-make-double-welt-cord-2/).
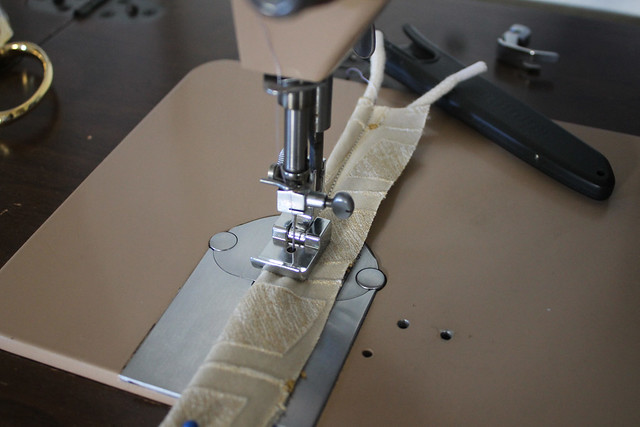
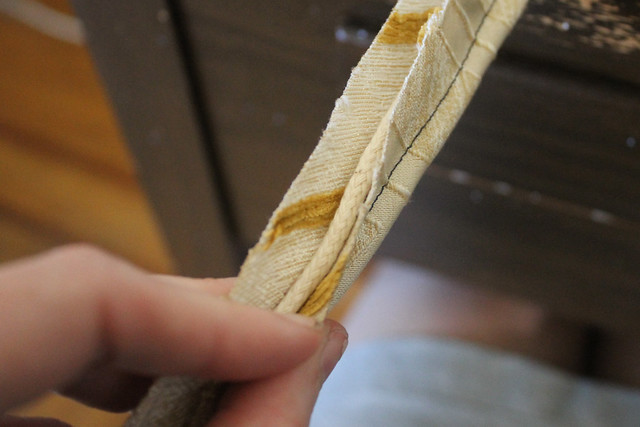
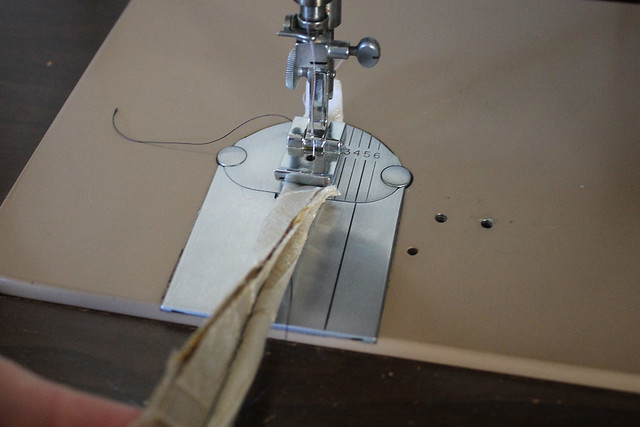
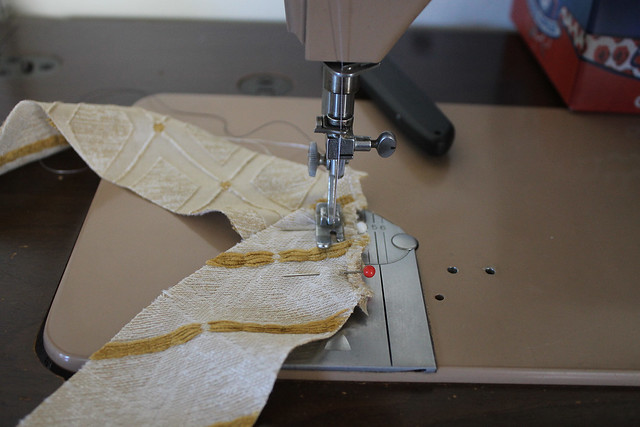
I first laid both cords in the fabric like they were hotdogs in a bun and had a bit more overlap of fabric on the top than bottom. I lined everything up with my double welt foot with the open fabric to the right of the foot, and started stitching a straight line. That first stitch sews in the the left cord. As I sewed I made sure everything was tight. When I took the open side of the fabric and wrapped the open edges from the right to the left and then sewed a straight line down the center again with my trusty welt foot. This than sewed in the right cord into the bundle. When I was done I trimmed the back and got it ready to hot glue!
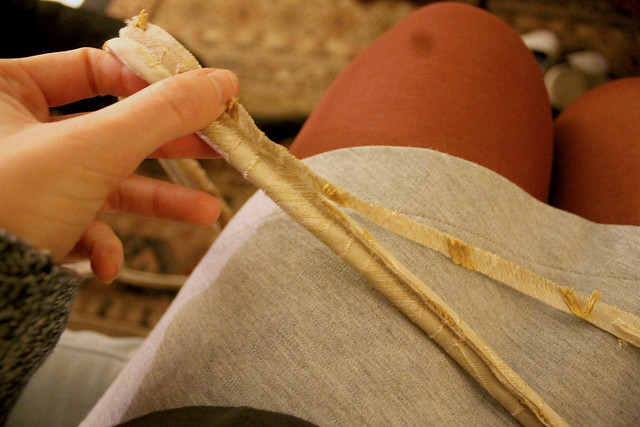
First to get the ends of the double cord ready, pull the cord out of the fabric a bit and trim it, then pull the fabric back over the cords and fold it over, that'll make a nice edge for you to start putting the welt on. With you trusty hot glue gun start in the bottom middle of the front or back of the chair. You want your cording seams to be on the bottom in the middle. When you come to the end, do the same trick where you cut the piece a bit longer than you need, then pull the cord out a bit and trim it to fit, then fold the fabric under and you have a nice clean edge. The front of the the chair bottom was a bit more difficult, and again take you time and go slowly!
And then TA-DA! Finished chair! Well a little more than that, but look it's finally finished! I learned so much and can't wait for my next upholstery project! I have the mid century bucket chair but Mike just found me another easier upholstery project on the curb! So I'll do that before I get into the hard bucket chair reupholstery. I'm so excited!